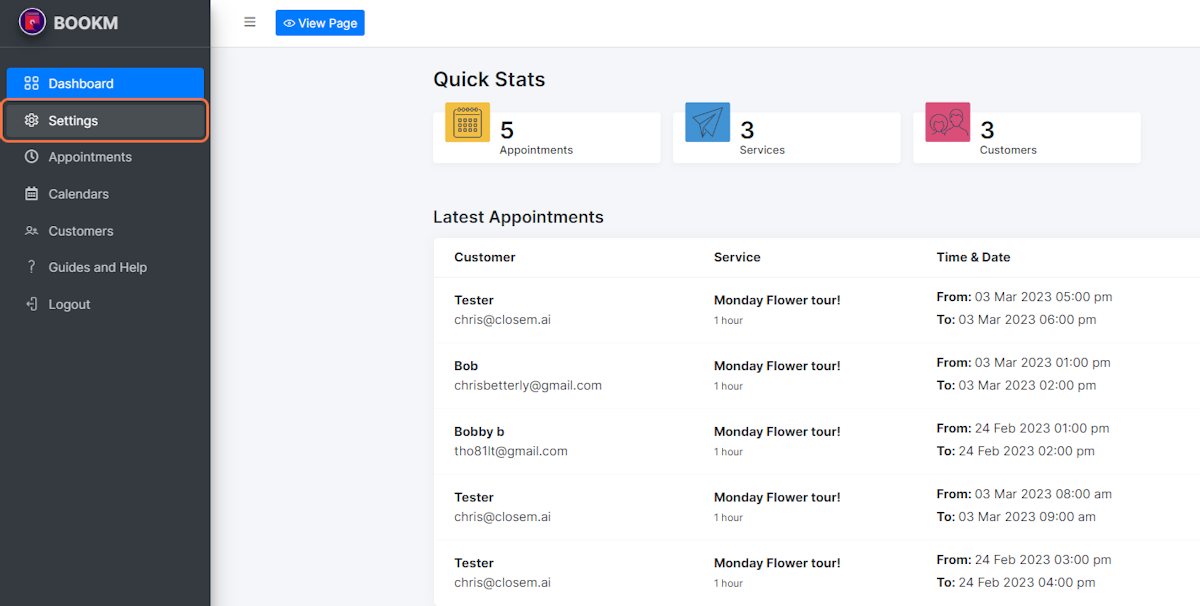
1. Click “Settings” #
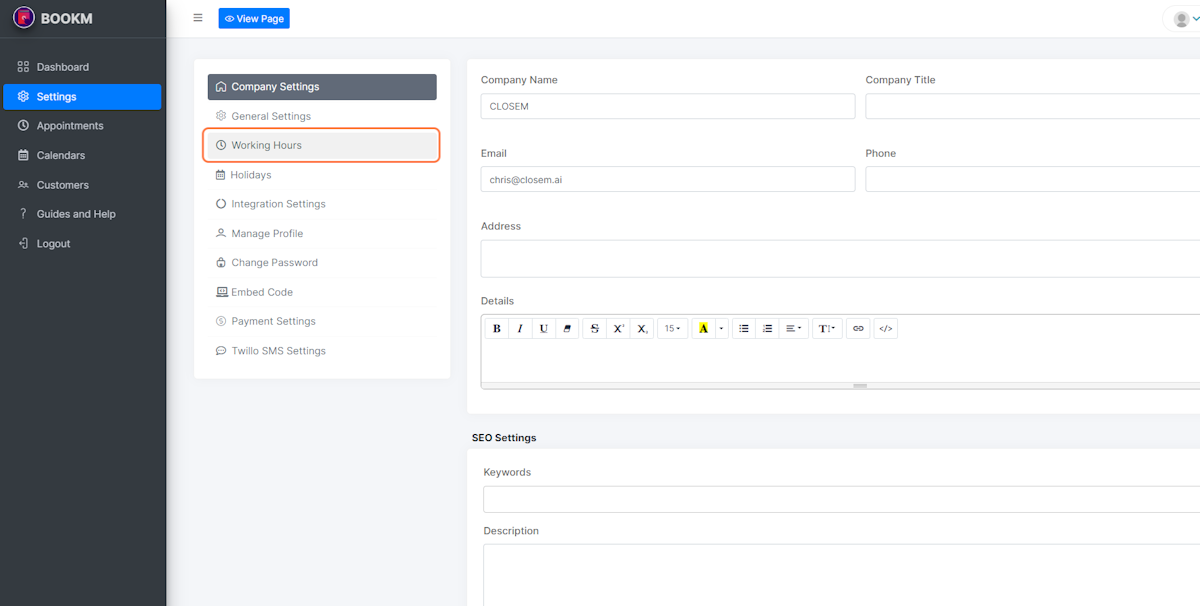
2. Click “Working Hours” #
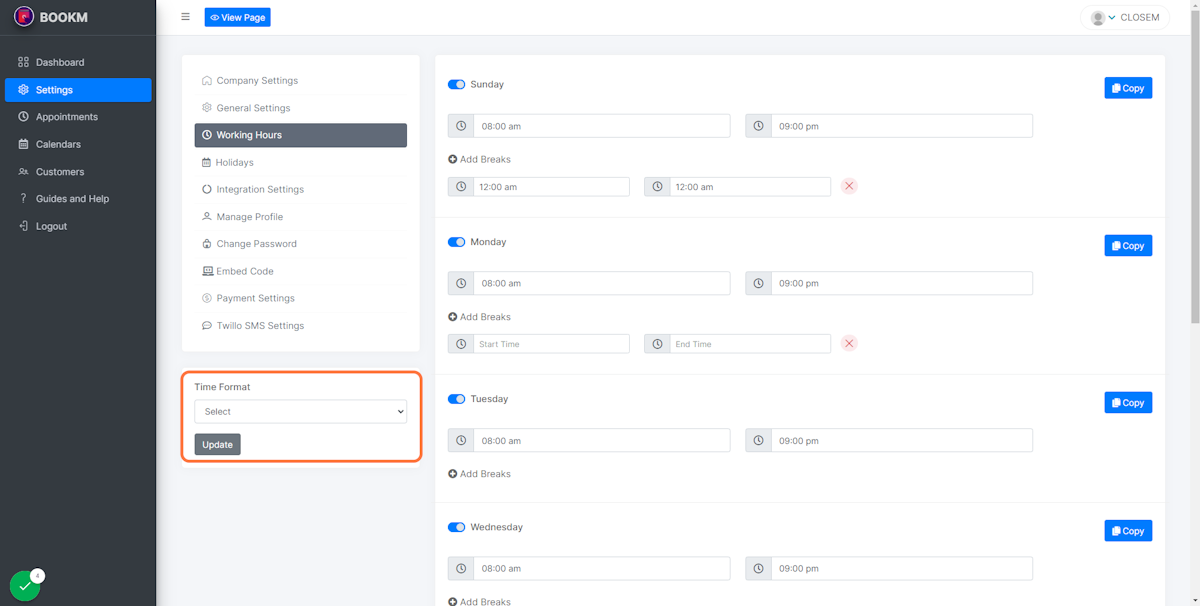
3. Working Hours overview #
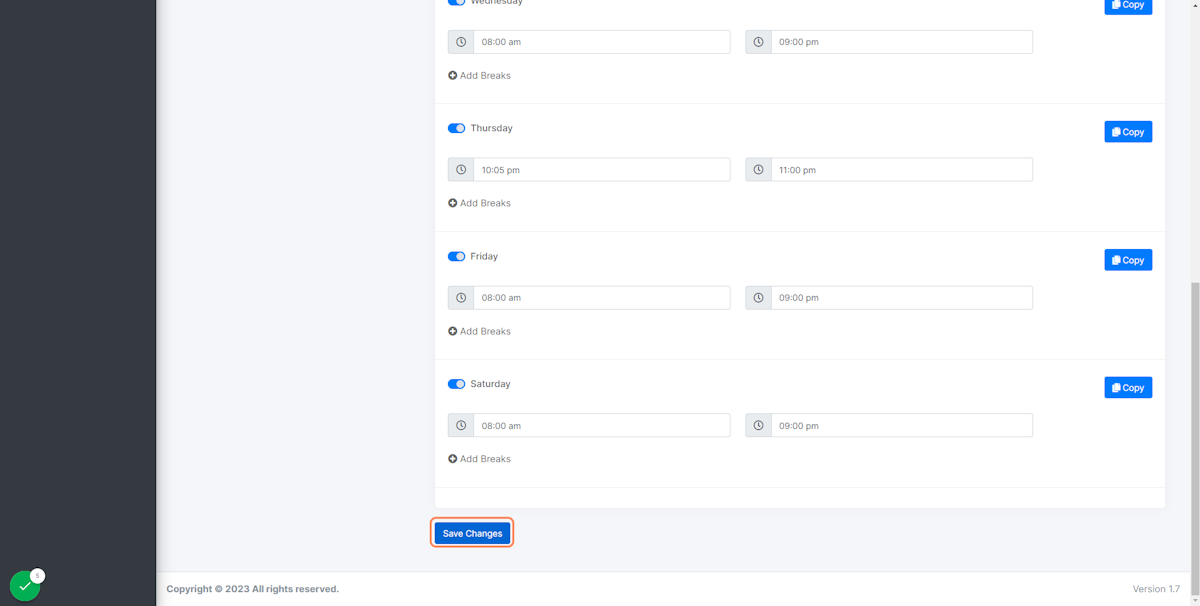
Here you can select your working hours (Global hours)to turn days on or off, you can click the sliding tick box in the top left by the name of the day. This is useful if you offer services on certain days of the week and want to limit the availability of the service.
The copy button on the right allows you to copy and paste the times you’ve set for one day to another day. This saves time and effort when setting your availability for multiple days.
You can also add specific times for breaks. Clicking the “Add Breaks” button lets you select specific times when you won’t be available for booking. This feature can be helpful if you need to take a break during your workday or if you have other commitments during specific times on certain days.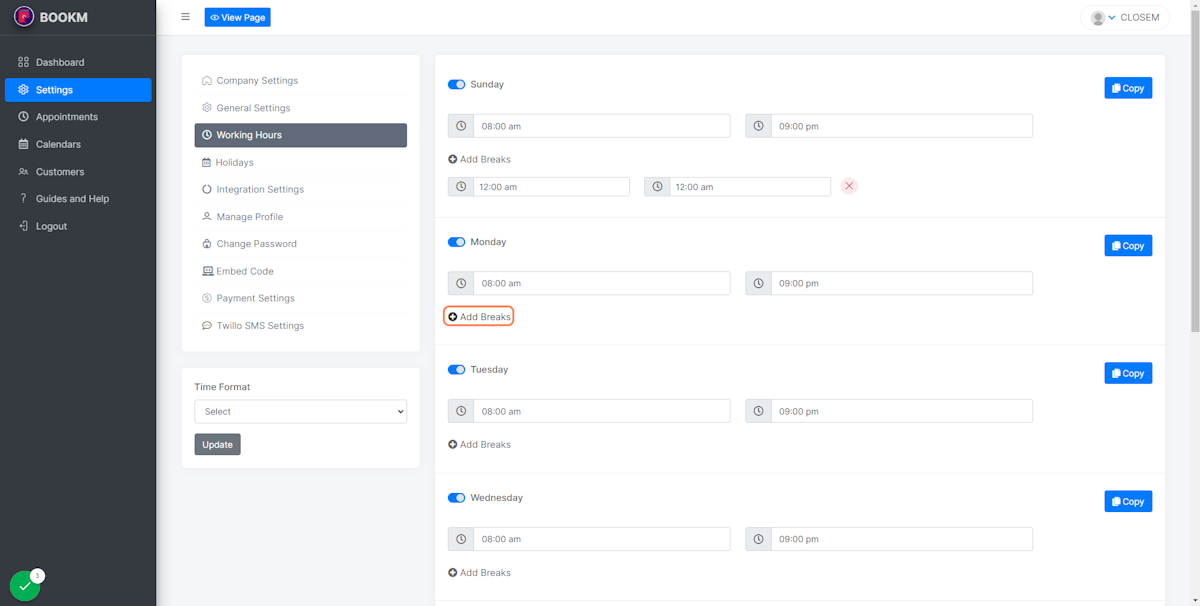
4. Time Format #
You have the option to select between 12-hour and 24-hour time format.
The 12-hour time format uses “AM” and “PM” to differentiate between morning and afternoon/evening hours. This format is commonly used in North America and other regions, and it can be helpful for customers who are more familiar with this time format.
On the other hand, the 24-hour time format is used in many countries around the world and uses a 24-hour clock. This format can be helpful if you prefer to use a single time format across all your services, or if your customers are more accustomed to using this time format.
5. Click “Save Changes” when you are finished #