1. Click “Customers” #
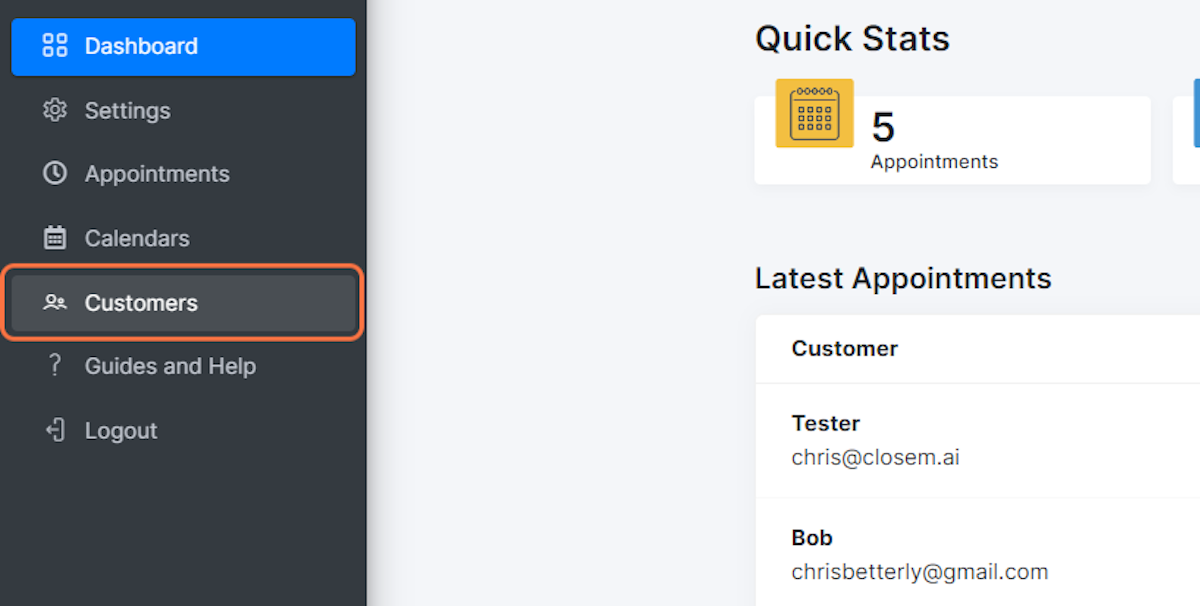
2. Customers section overview #
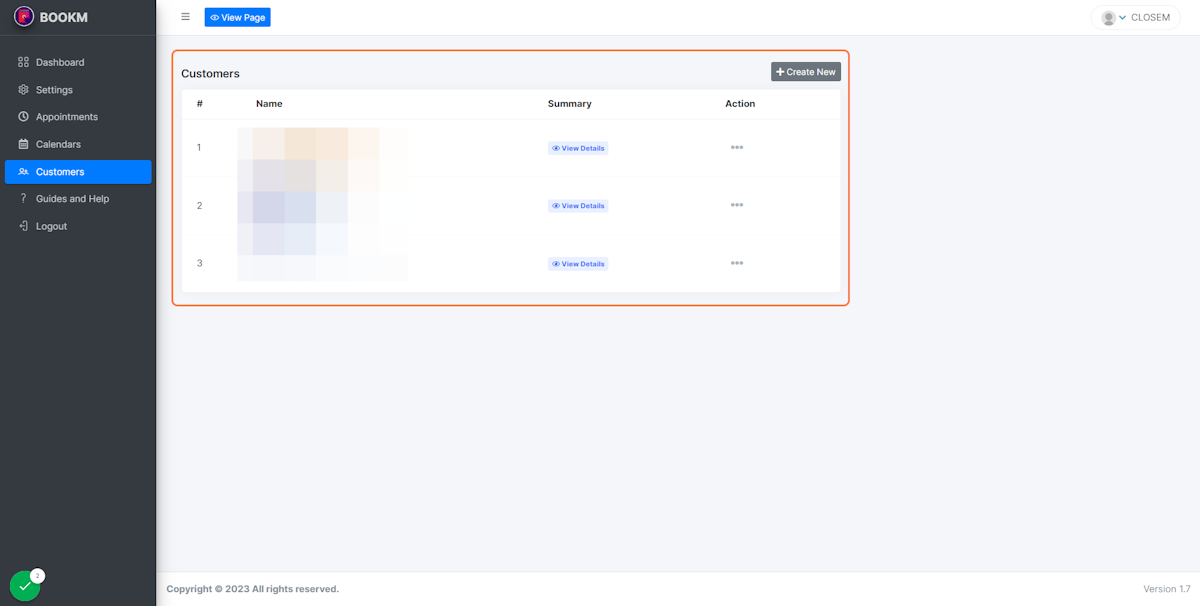
The “Customers” section is where you can manage all your customers. This is where you can view their details, such as their name, email address, and phone number. You can also edit their information if necessary, such as if they have changed their contact information.
In addition, you can create a new contact manually if needed. This can be helpful if you have a new customer who hasn’t booked through your booking page yet, or if you want to add a contact for a previous customer who you didn’t store in your account yet.
When a person books an appointment through your booking page, a new contact is automatically created for them. This makes it easy for you to manage all your customer information in one place, and you can view all your customer history and details whenever you need to.
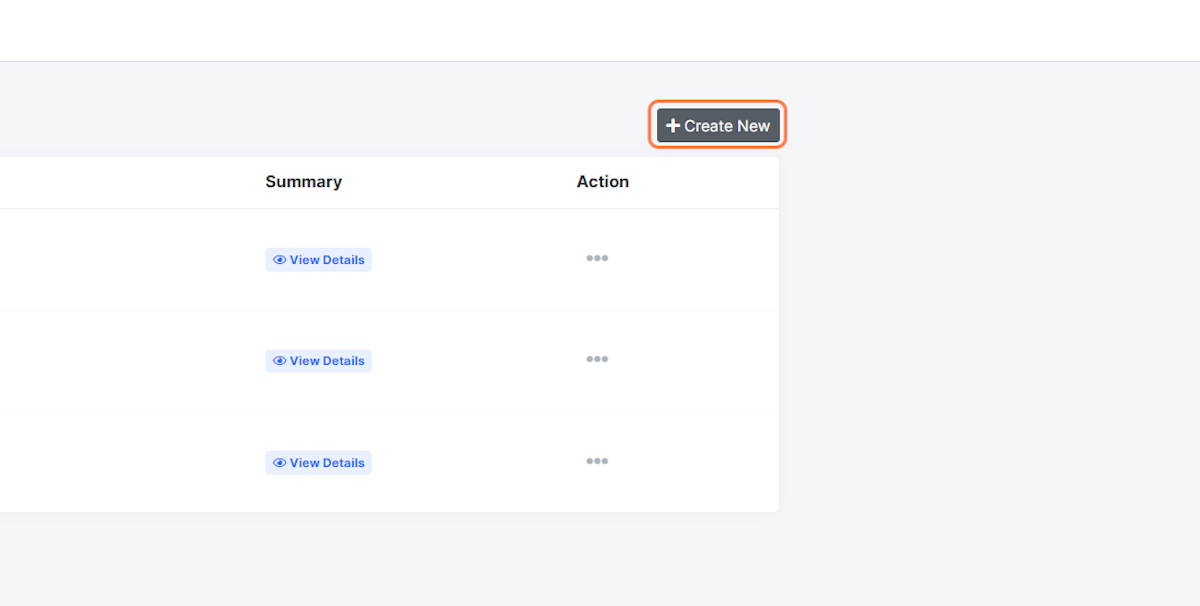
3. 3 dots icon #
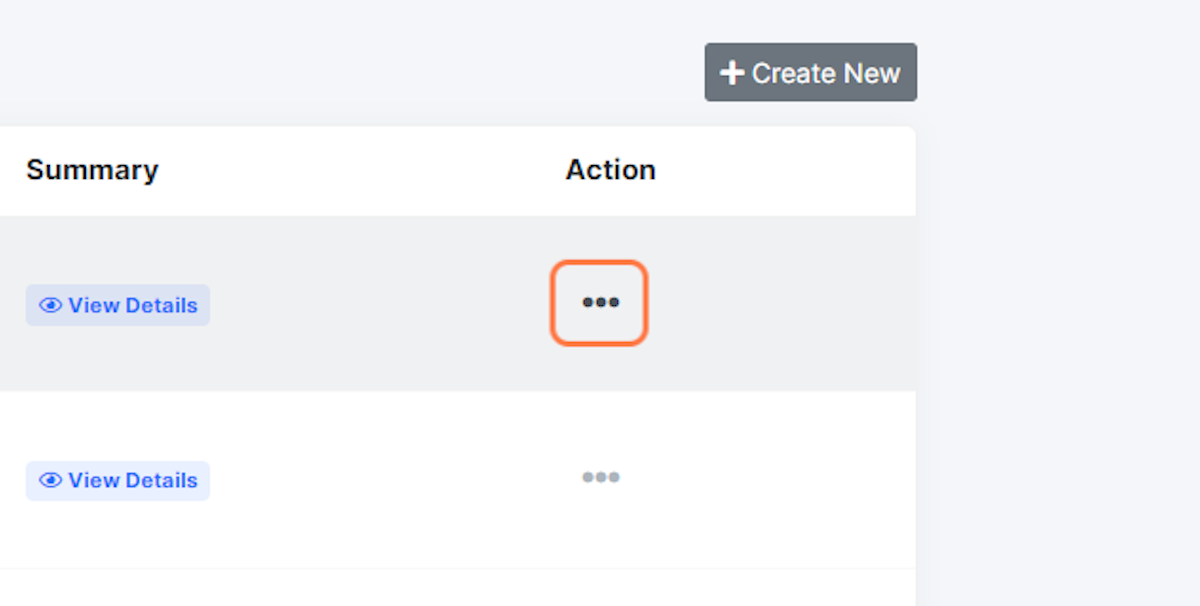
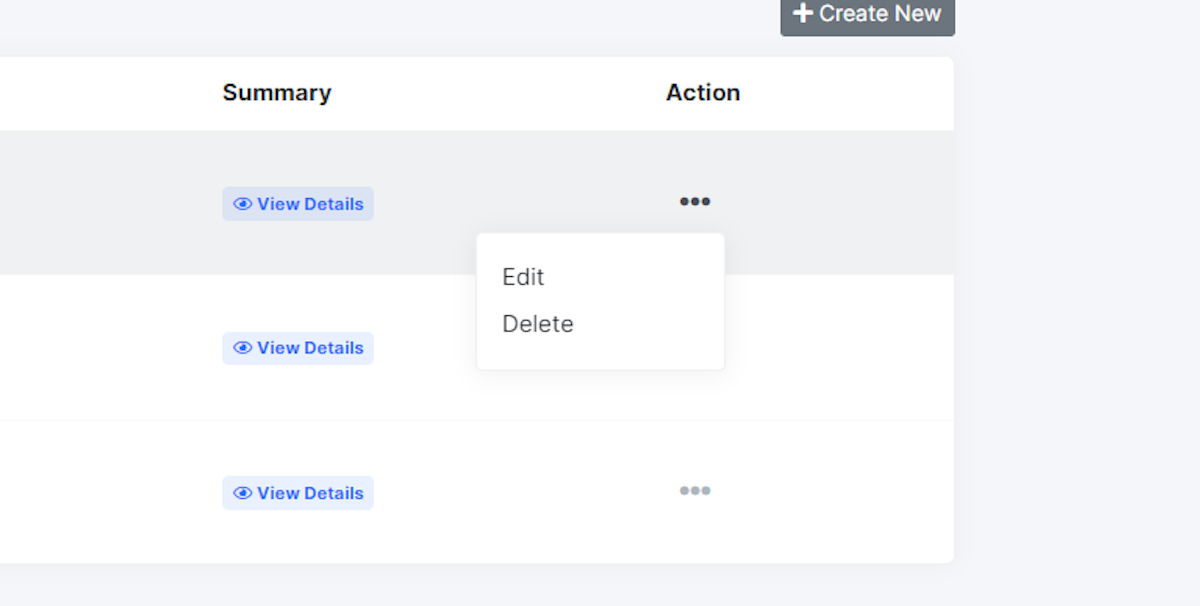
4. You can find additional options for a specific contact by clicking on the 3 dots icon next to their name #
This will open a drop-down menu with different actions you can take, such as editing or deleting the contact.
5. You can manually add a new customer by clicking on the “Create New” button. #
6. Creating a new customer #
When you do so, you will be prompted to enter the new contact’s information, such as their name, email address and phone number.
You can also assign a status to the new contact when you create them. By default, new contacts are set as “active,” which means they can book appointments with you. However, you can also set their status to “disabled,” which will prevent them from being able to book appointments with you.
Click “Save” when you are finished.


